Step 1: Materials and tools
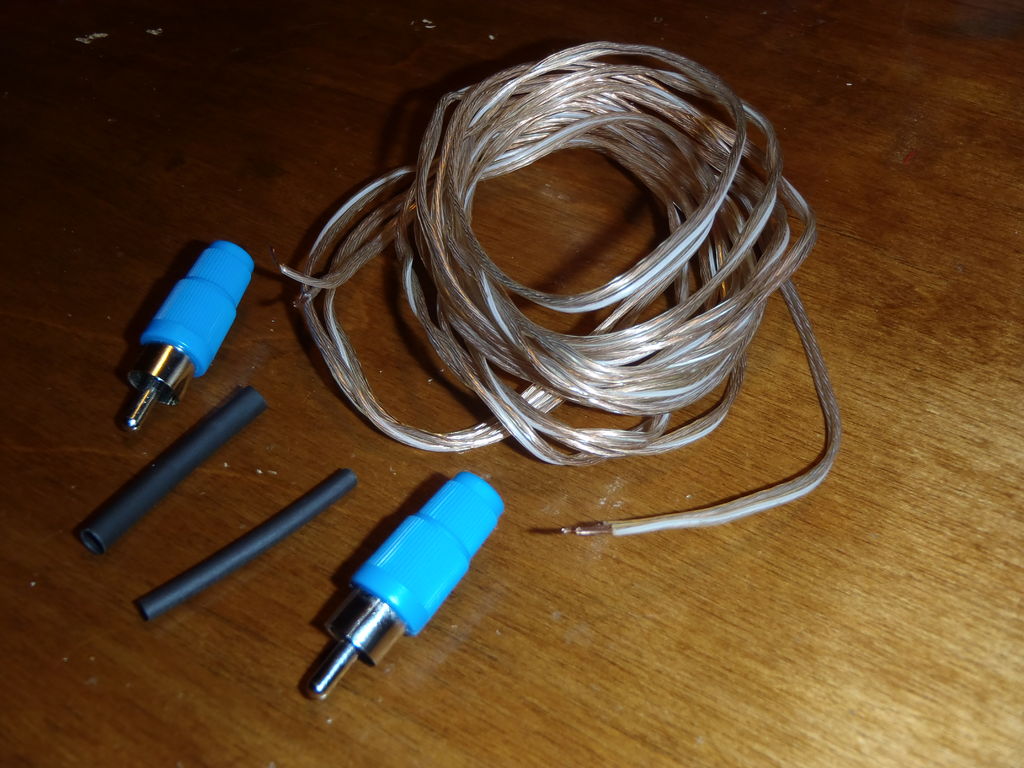
1. Materials
1) RCA cable end-I got my help from Radioshack because I need them right away, but you can easily find cheap cables online, or look for cables you don’t need to replace old stereo equipment, and only These wires need to be extended.
2) Wire-I am using 24 wire gauge speaker wire, I used this pair of wires in the waste dump
3) Heat shrink tubing-optional
2. Tools
1) Soldering iron and solder
2) Continuity tester (or multimeter with this function)
3) Precision needle nose pliers
4) Wire strippers and cutters
5) Hot glue gun-optional
6) Heat gun-optional
Step 2: Prepare the wires
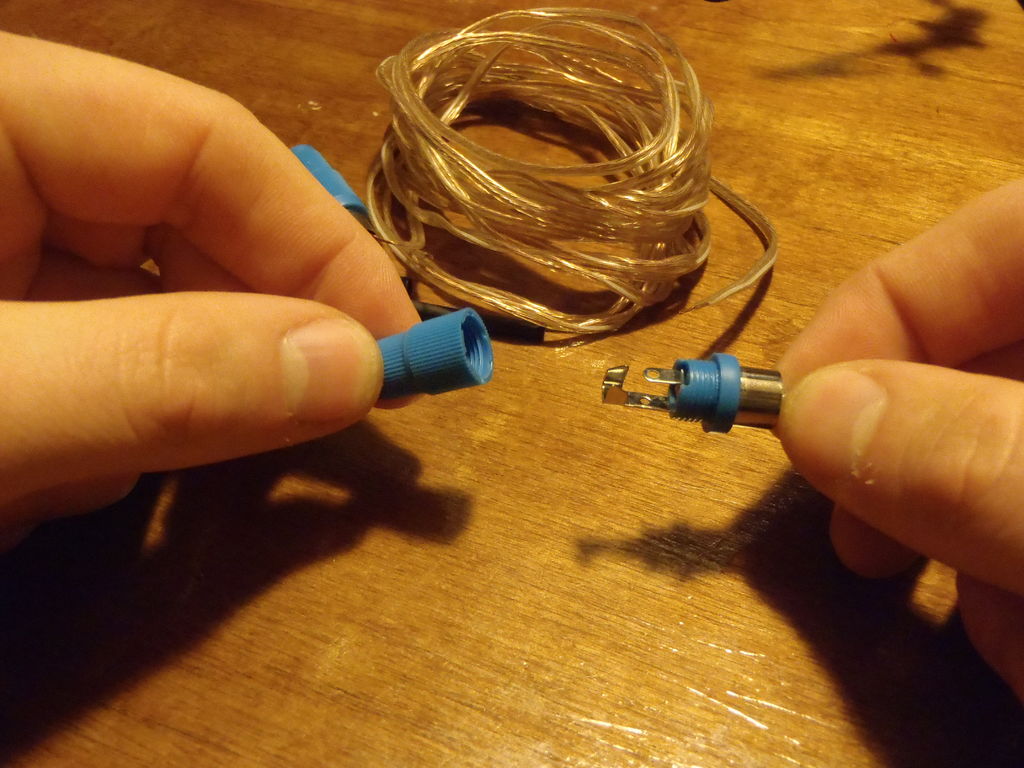
1) Find out how long the cable is.
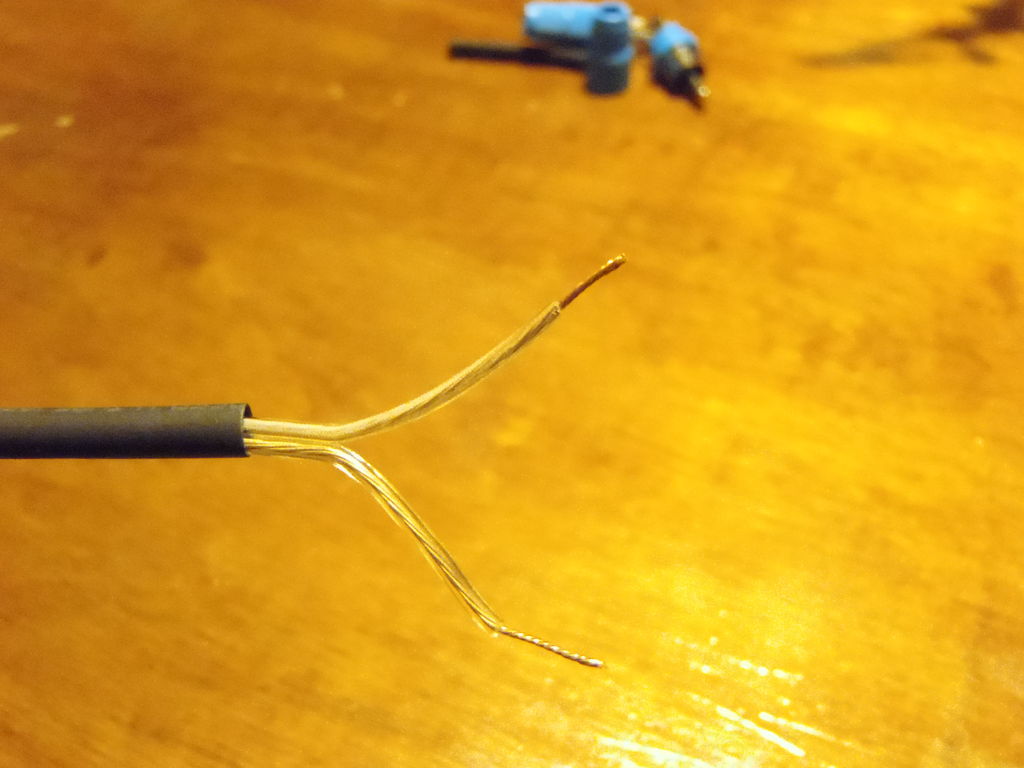
2) Cut the wires, separate the two sides a bit, and then strip off the ends.
3) If there is a mark on one side, please write it down immediately.
4) Slide a heat shrink tube at the end.
5) Open
Step 3: Soldering the ends
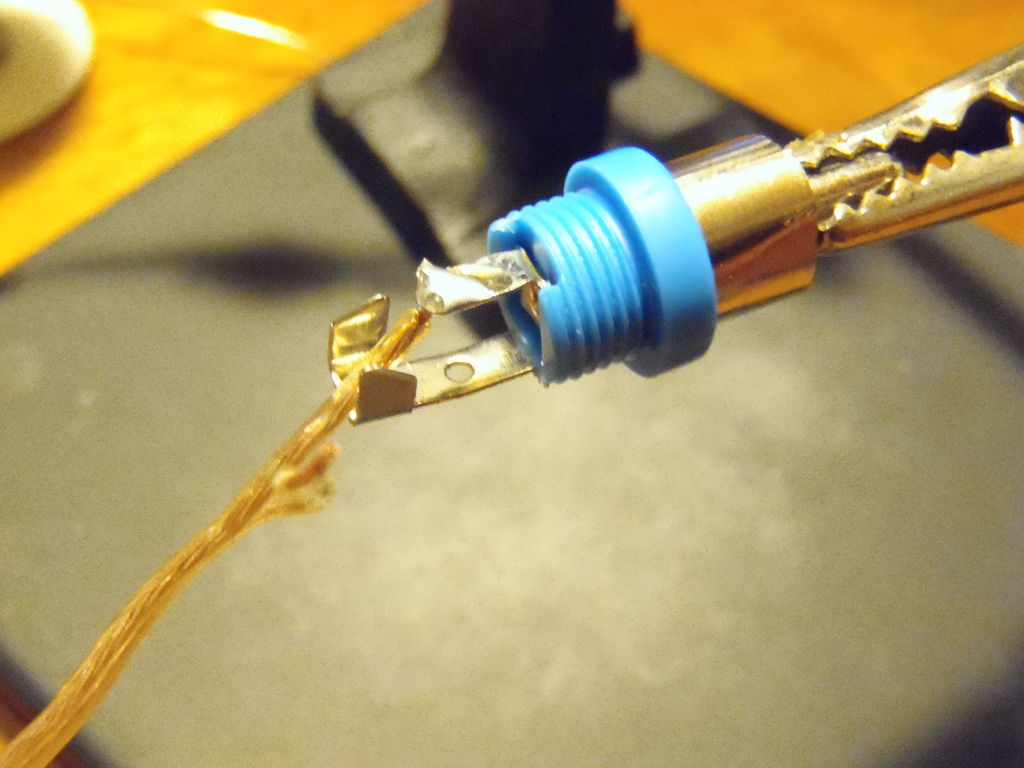
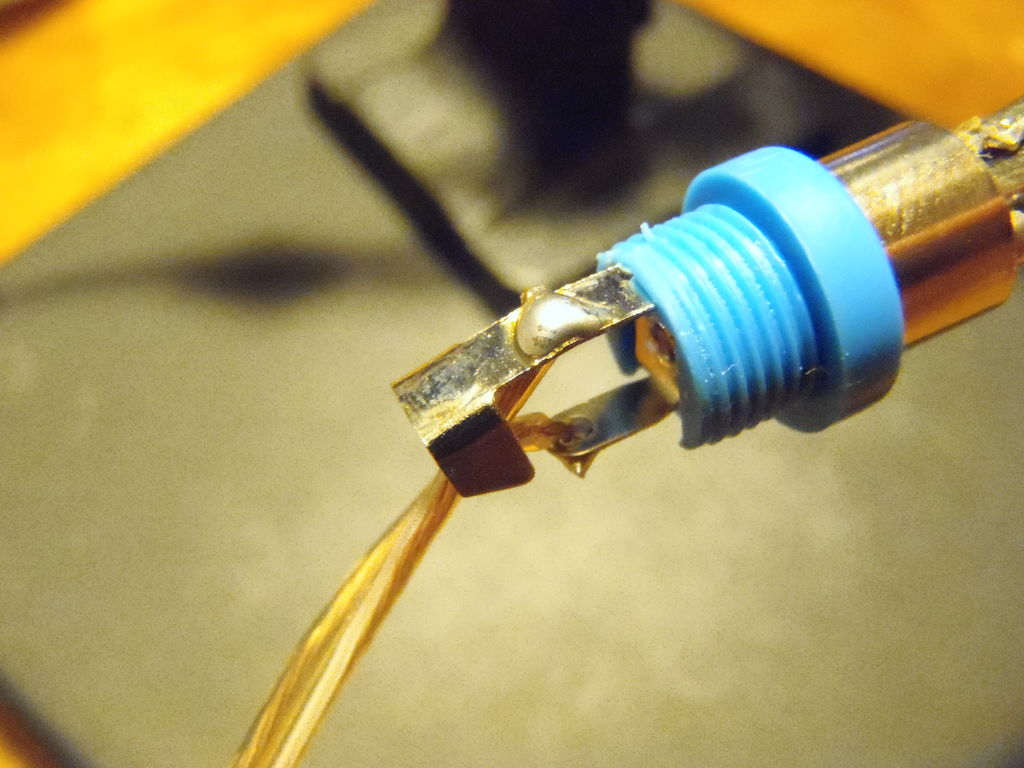
The male pins terminate on shorter metal tabs. Usually, this is the "data" line. The outer mother tube terminates on a longer lug with a collar. Usually, this is the ground wire for shielding data.
It will be easier if there are markings on one side of your line. Remove the unmarked wire and pass it through the small hole in the shorter metal tab from the inside out. Bend the lead slightly to weld it in place. Then, cut off the remaining exposed wires.
Now, take out the marked wires and do the same with the longer metal tabs.
Please note. .. Overheating will melt the two tabs, which will melt the plastic shell and cause the threads to deform.
Step 4: Fix the collar
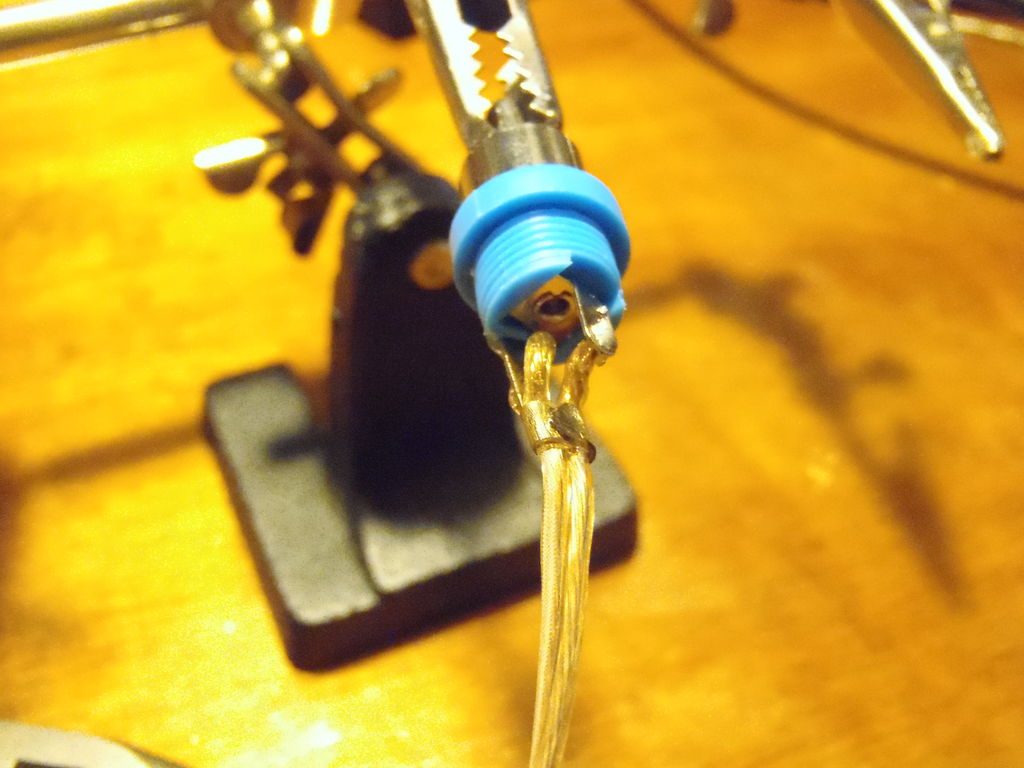
These two small protrusions will stick to the collar. Even after some Yahoo pulls out the cable by pulling the wire instead of pulling it out of the plastic casing, this will "theoretically" keep the cable in working order. Of course, eventually, the cable will stop working because of this. This is why you should never pull a plug with a wire!
The two lugs should be bent down on the wire and clamped tightly together. Don't overuse it here, you can cut the wire insulation and then short the two wires together.
Speaking of short circuits, now is a good time to check the continuity of the two wires-they should not be shorted together!
Step 5: Do it again
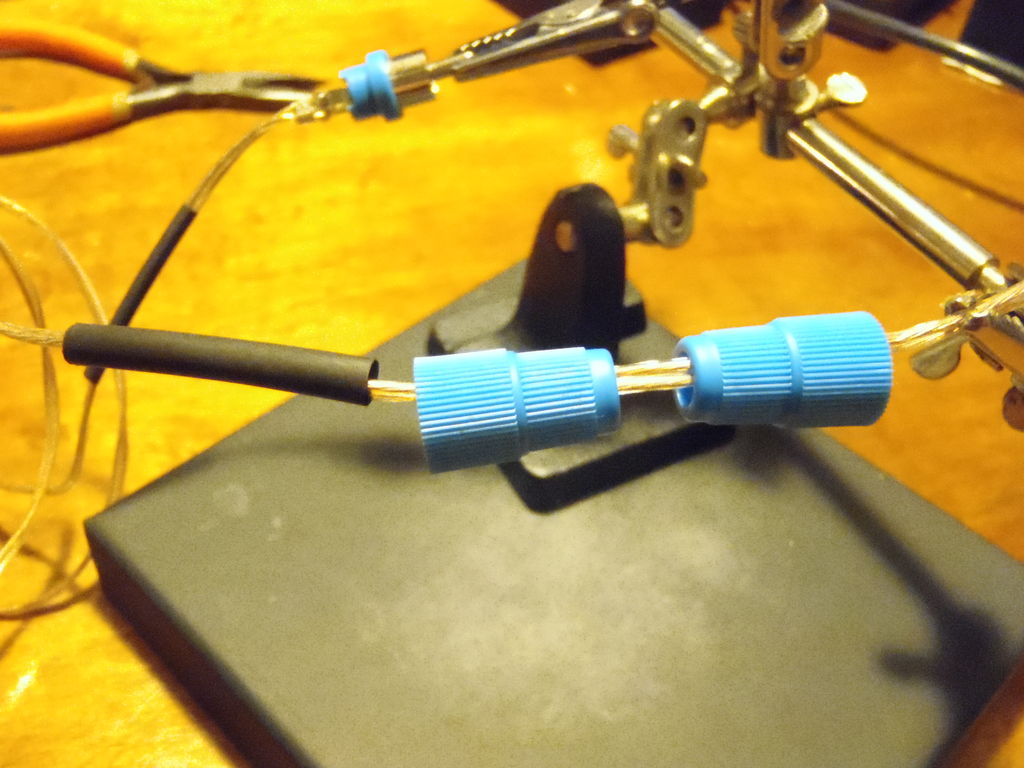
Before repeating the previous step on the other end of the cable, you need to thread the cable into the two back shells on the wire. The first one needs to be threaded first, and the second one needs to be docked first.
A second heat shrinkable tube can also be added to this side. Marking lines are useful. This is not a "crossover cable". The same unmarked wire should be connected to two small lugs, and the same marked wire should be connected to two longer ground lugs. If the wire is not marked, just use the continuity tester to determine which side of the wire should go where.
To figure this out, repeat the welding process described in the previous step.
Step 6: Protect the wires
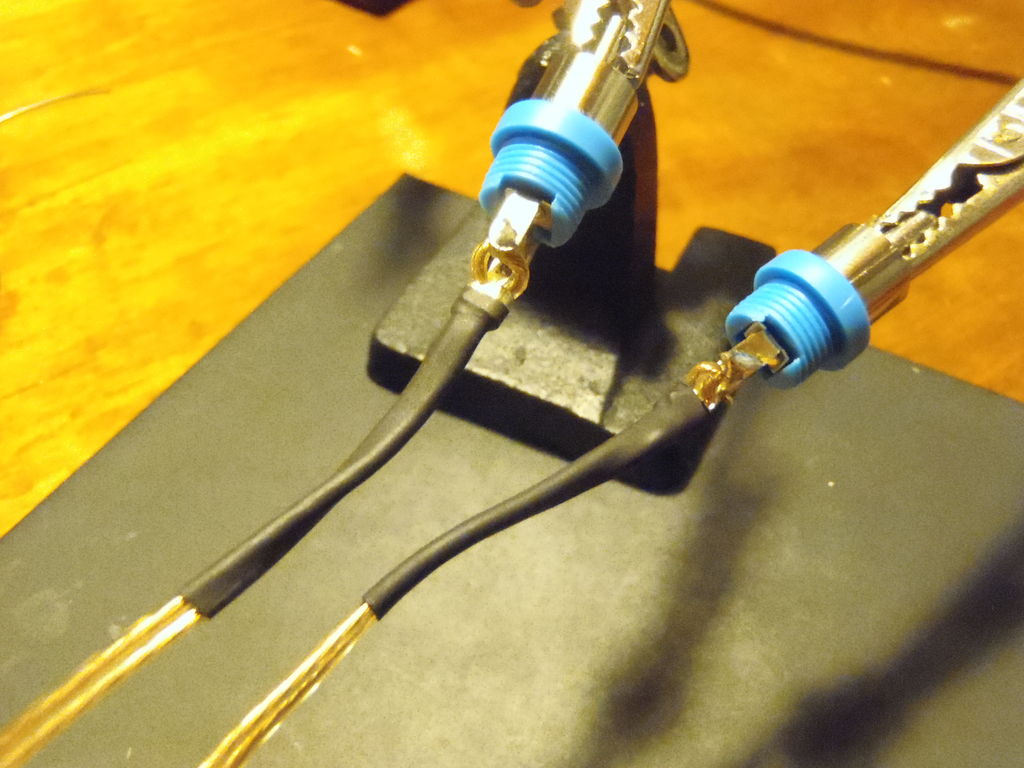
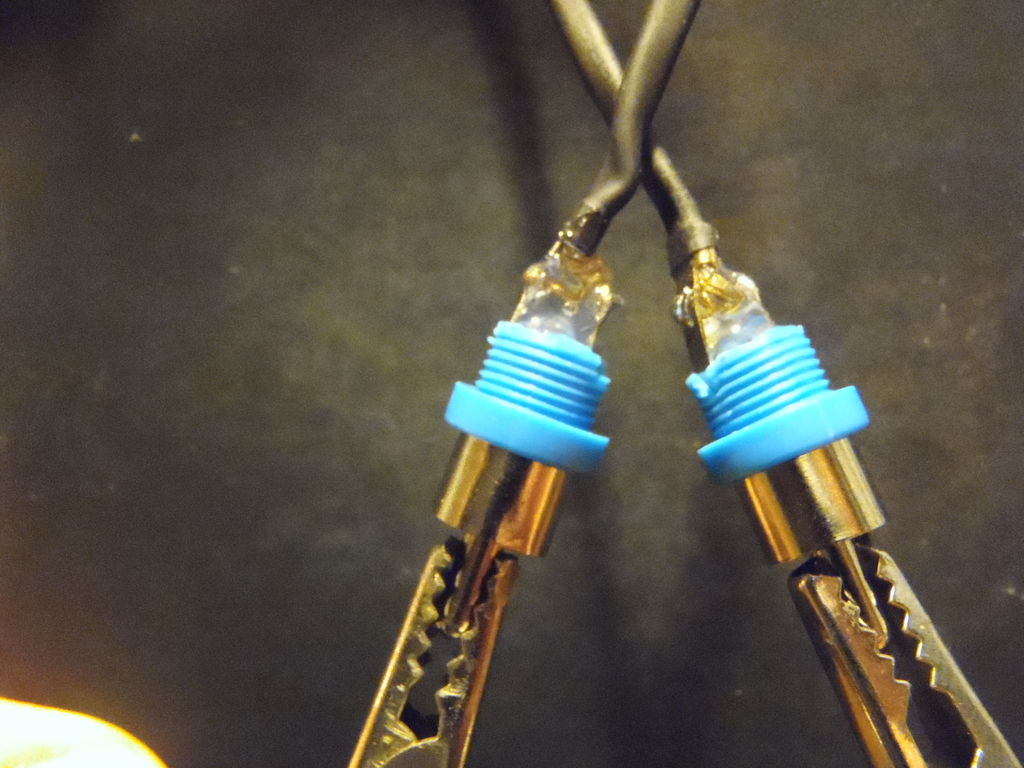
This step involves all optional parts. The first is the heat shrink tube. Although there is no need for any form of insulation, I still want to add it here because it can make the ends of the wires harder and less prone to short circuits, and it is also beautiful when viewed from the back of the plastic casing.
Pull the pipe as high as possible to the wire, and even cover the clamp ring. This will increase the safety of the wire. Shrink the tube with a heat gun. Using my DIY heat gun reflector, the process is very simple and quick! Sorry, this is my last shameless plug.
Another optional operation I want to do is to put some hot glue in the gap between the two soldering tabs. This is to increase the safety of wire termination. I really don't want these solder joints to separate! Before doing this, I suggest you bend the label a bit. This will ensure that the rear shell has enough clearance to screw it in place.
Step 7: Tighten the housing
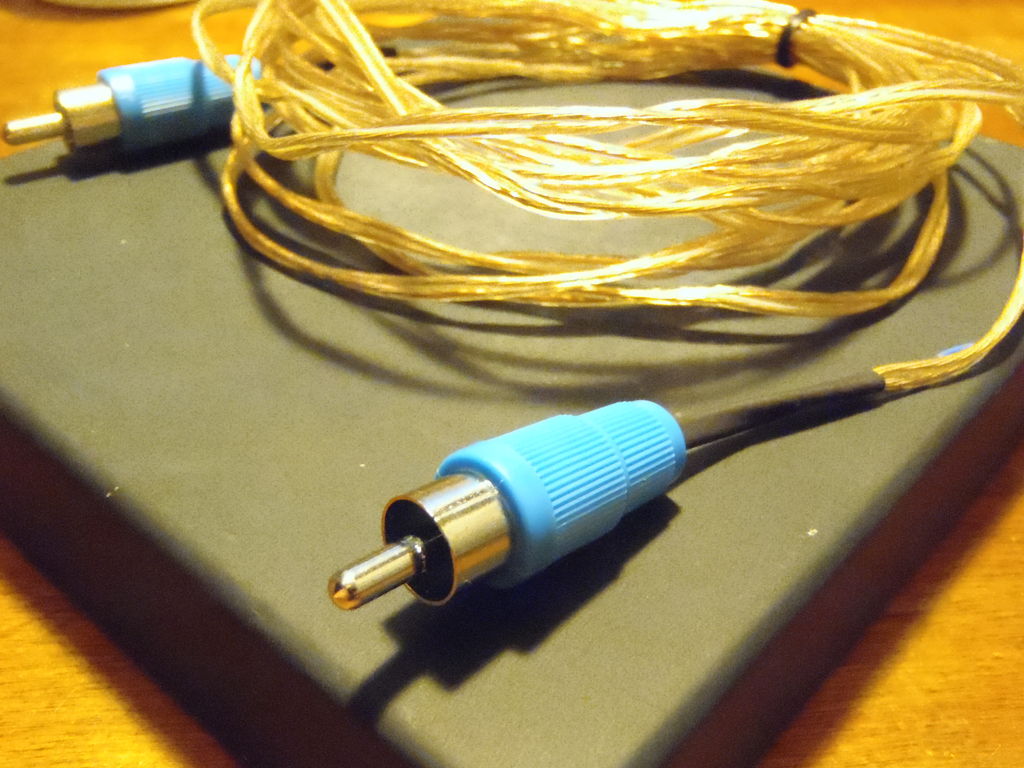
Finally, the housing can be screwed back onto the solder tab. This is a good time for a final continuity test. The two male pins should be short-circuited and the two outer rings should be short-circuited, but the pins and short rings on both sides should not be short-circuited.
Now, these cables can be used for anything with RCA jacks!
Our other product:


